¶ Accessing & Downloading Your Facebook Information
(Android, iPhone, Desktop)
This page explains how to access and download Your Facebook Information across all supported platforms. While menu layouts differ slightly between Android, iPhone, and Desktop, the underlying data tools and options are the same.
Quick Video Walkthrough
Youtube Facebook Messages Extraction Video Walkthrough.
¶ Overview (Common to All Platforms)
Facebook provides a centralized tool that lets you:
- View the data associated with your account
- Download a copy of your information
- Transfer data to another service
- Delete specific categories of data
All of these are accessed through:
Settings ? Your information and permissions (you may have to select “See more in Accounts Center”)
Once there, you can:
- Select data categories
- Choose a date range
- Pick a download format (HTML or JSON) (we prefer JSON)
- Select media quality (only Low is needed for text)
- Request a downloadable archive
¶ Platform Specific Navigation Paths
¶ Android App
- Open the Facebook app
- Tap ? (Menu) in the top-right
- Scroll down and tap Settings & privacy
- Tap Settings
- Select Your Facebook Information
- Tap Download your information


¶ iPhone (iOS) App
- Open the Facebook app
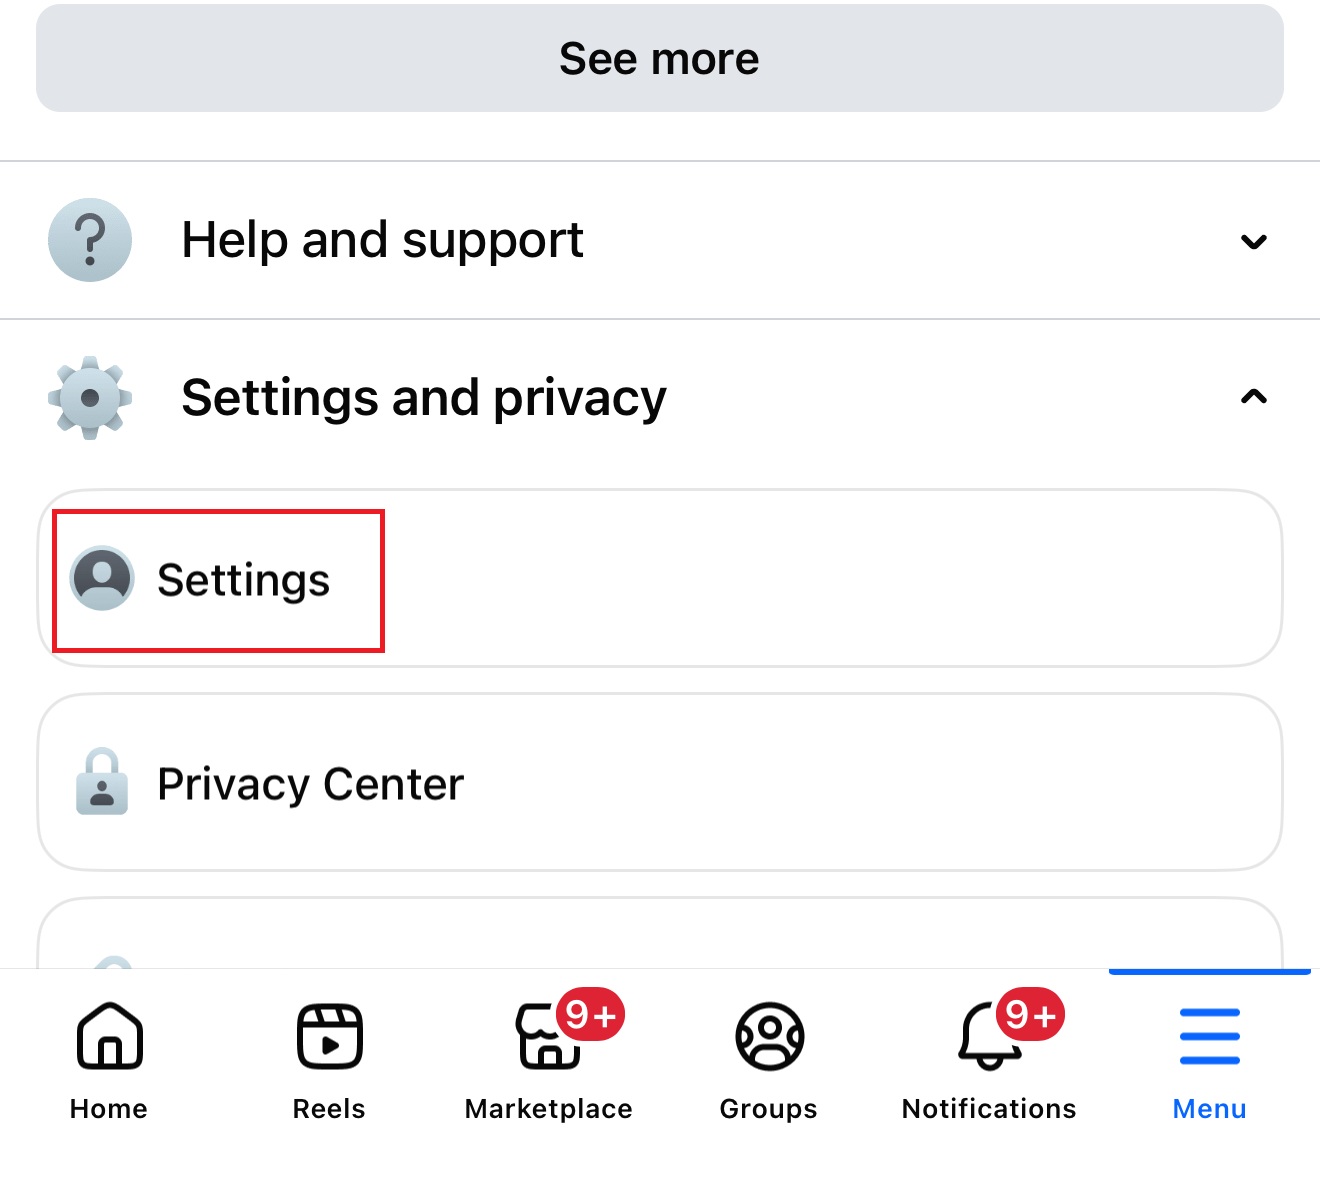
- Tap ? (Menu) in the bottom-right
- Tap Settings & privacy
- Tap Settings
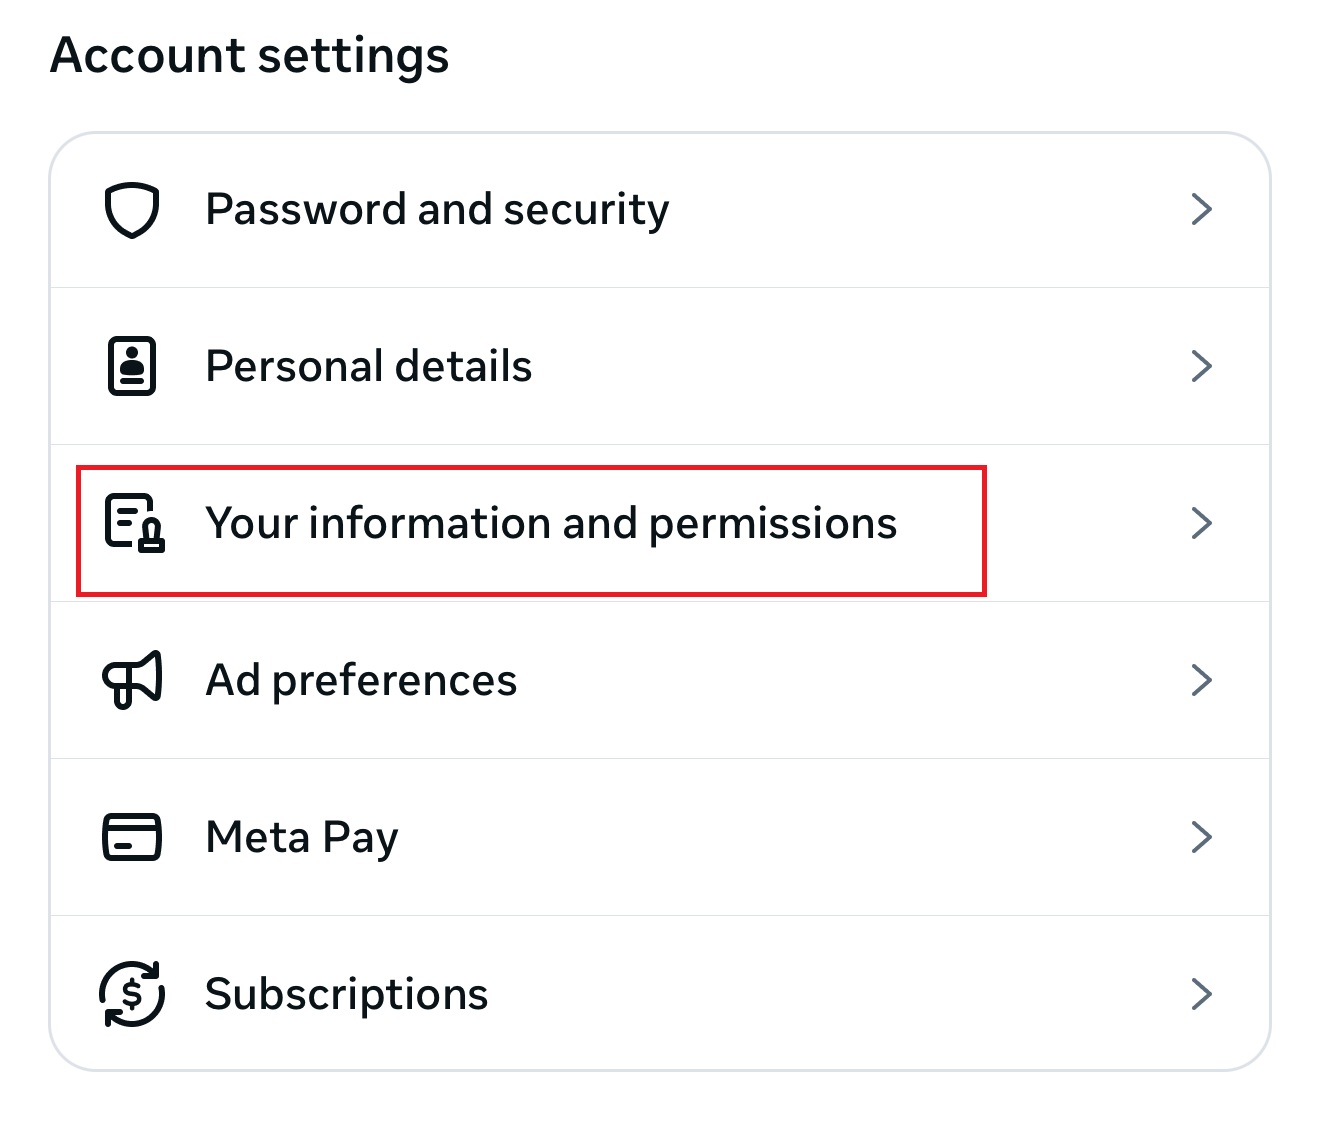
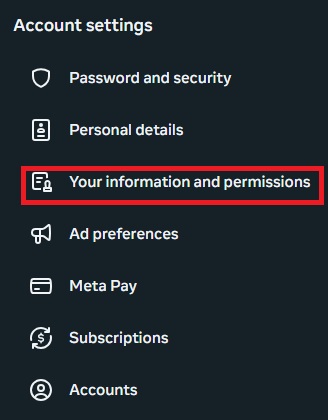
- Select Your Facebook Information and Permissions
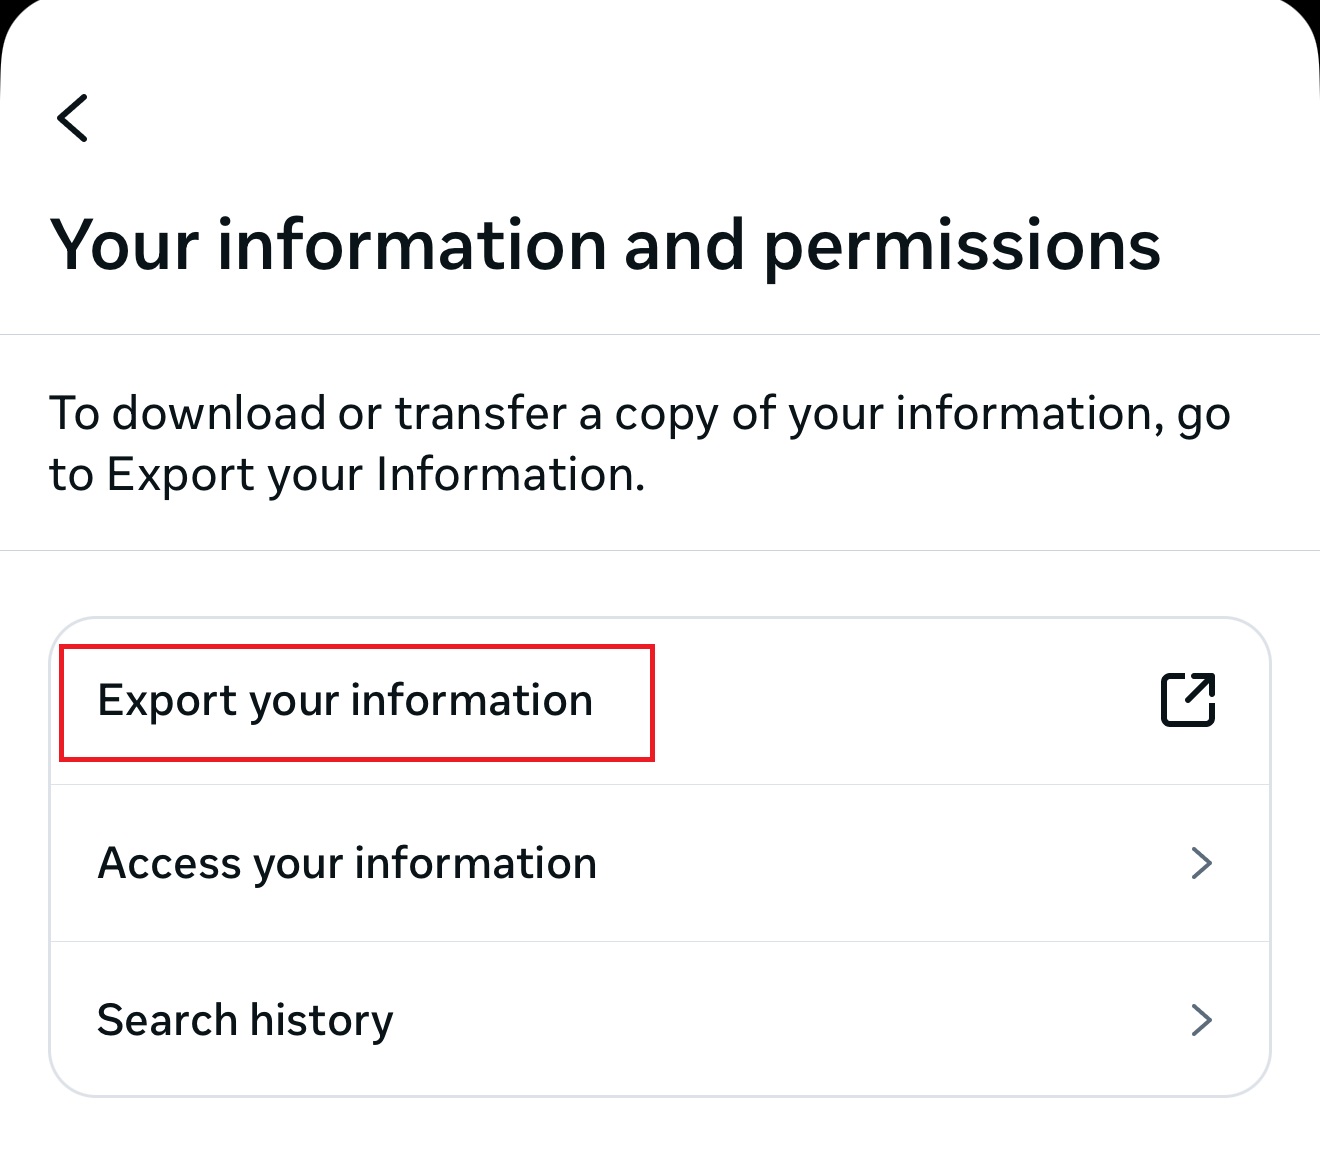
(if this doesn't show initially, select “See more in Accounts Center”) - Tap Export your information
¶ Desktop (Web Browser)
- Go to facebook.com and sign in
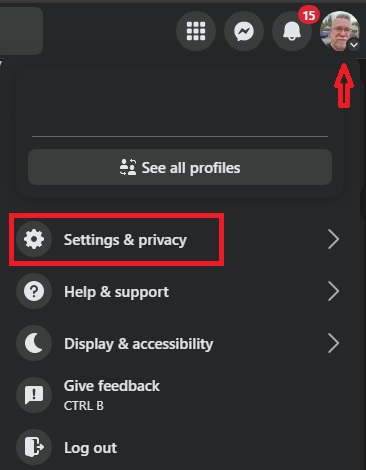
- Click your profile picture (top-right)
- Click Settings & privacy
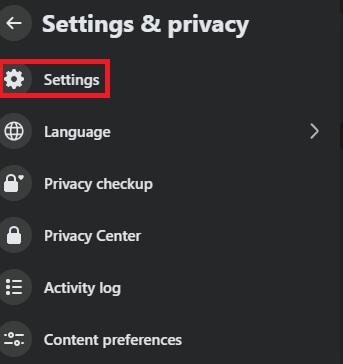
- Click Settings
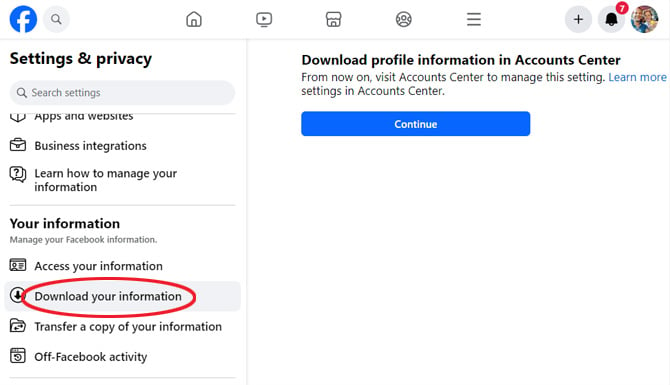
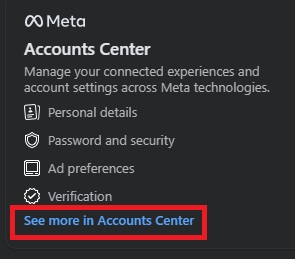
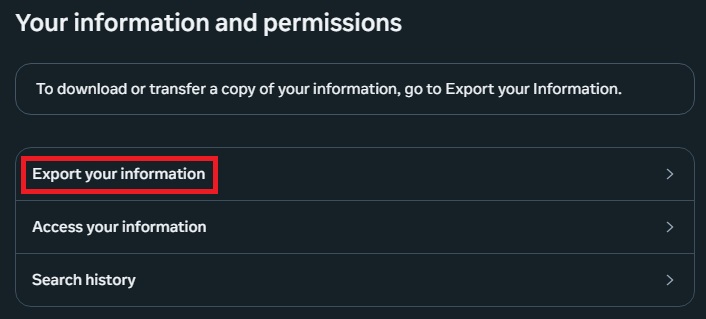
- Select Your Facebook Information and Permissions from the left sidebar
(if this doesn't show initially, select “See more in Accounts Center" - Click Export your informationation
¶ Downloading Your Information (All Platforms)
Once inside Download your information, the workflow is identical on all platforms.
¶ Step 1: Select Data Categories
You can choose from categories such as:
- Posts
- Photos and videos
- Messages (? we only need these)
- Comments and reactions
- Profile information
- Logged actions and activity
- Ads information
- Friends and followers
Tip: Use Deselect all and manually select only what you need to reduce archive size and processing time.
¶ Step 2: Choose Download Options
- Date range: All time or custom range
- Format:
- HTML – easy to browse
- JSON – structured, machine-readable (recommended for analysis)
- Media quality: Low / Medium / High (we recommend low)
¶ Step 3: Request Download
- Tap or click Request a download
- Facebook will prepare your archive (can take minutes to days)
- You’ll receive a notification when it’s ready
¶ Step 4: Download the Archive
- Return to Download your information
- Go to the Available files tab
- Download the ZIP file
- Re-enter your Facebook password if prompted
Step by Step
Using a PC/Mac browser;
- Visit https://www.facebook.com and sign in.
- Tap your profile picture/menu icon in the top-right (Android) or bottom-right (iPhone) or top-right (Desktop). Scroll down and tap Settings & Privacy.
3. Then click Settings
4. Click “Your Facebook Information”
(You may need to select “See more in Accounts Center”)
5. Click "Export Information" and then “Create Export”
6. Select the user you want to export
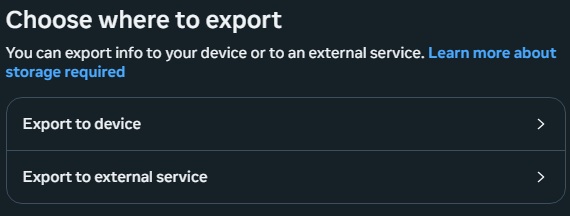
7. Choose where you would like to export the information to (device or external service)
8. Select “Customize information”
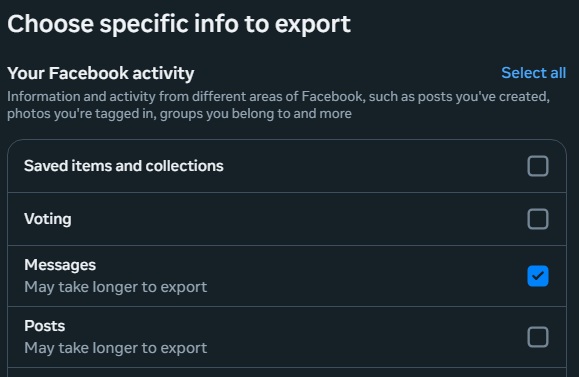
9. Note: Each section has its' own “Clear All” option. To get messages ONLY, clear all
other sections as well before you hit Save.
Select “Messages” only and then select “Save”
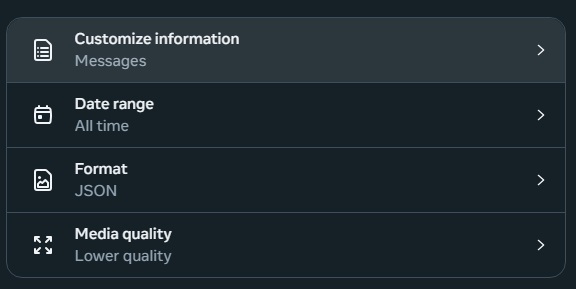
10. Change Format to "JSON", Media Quality to "Low" and Date Range to "All time"
or select a date range that suits your needs. The summary, after you hit Save, should
look something like this:
11. Finally, select "Start export". You may need to enter your password again for security.
This process can take a while depending on the total size of messages being exported.
Once completed, you will get a download link which you can save as a ZIP file. You actually don't
have to upload the entire zip file to YoV though. You can just select the specific messages JSON file for your person.
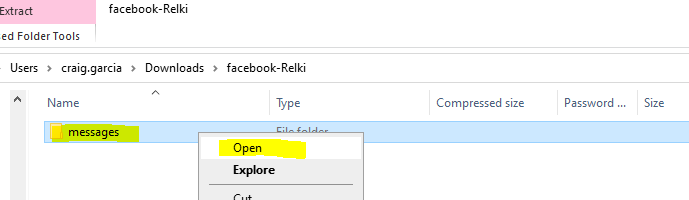
12. On a PC, locate the zip file downloaded and double click on it or right click and click open.
--The following is currently in redesign and may differ from the final version--

13. Double click on "messages" or right click and click "open".
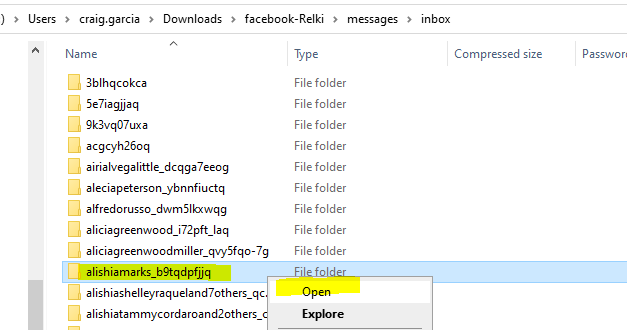
14. Locate the folder that contains the conversations for the person you want to capture as a Versona. Double click on that folder.
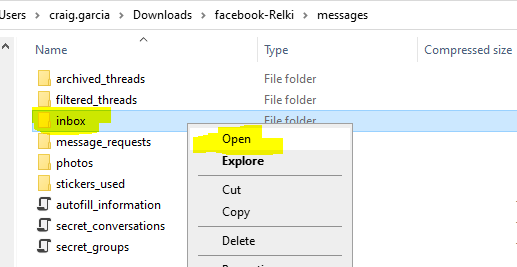
15. Double click on "inbox" or right click and click "open"
16. Locate the file "message1.json". This is the file we want to copy and email to the YOV team. When the Versona Accelerator upload portal is ready, you will also be able to use the portal, selecting Facebook message file and select this message_1.json file and upload it for your Versona.
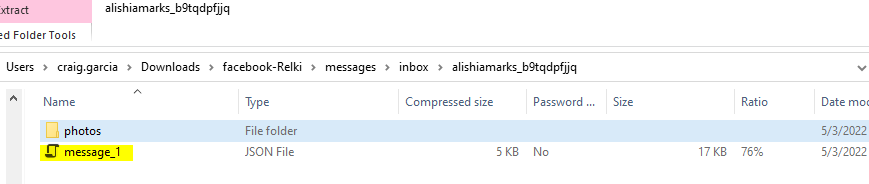
You may want to zip and password protect this file if you wish. Just remember to give the password to the YoV team if you do.
Comments are always welcome to help identify incorrect information or errors.